
Bitwarden users have a number of options already when it comes to signing-in to their vaults. They can use a master password and improve security by adding a two-factor authentication option to the process. Supported are two-factor authentication providers and apps among other things.
Now, there is also the option to create a passkey and use it to sign in to the Bitwarden vault. The feature is beta at this stage, but it worked fine during tests.
A passkey is generated on the user’s device. A private part of it never leaves the device, which means that all standard password attacks don’t work against passkeys.
I used the Google Titan Security key, which is a hardware key, for this guide. You may also use what is provided by the browser / operating system, e.g., WebAuthn, or a different hardware security key.
Note: The following restrictions apply: up to 5 passkeys can be created and used for login. Passkeys are not yet supported if Require single sign-on authentication policy, SSO with trusted devices, or Key Connector are used.
Bitwarden supports the saving of passkeys already for other services. This improvement adds support for using passkeys to sign-in to the vault.
Setting up the Bitwarden passkey
Here is a step-by-step guide to creating a passkey on Bitwarden to sign-in using it later on.
- Go to the Bitwarden website and log-in to your account.
- Select the account icon in the upper right corner of the screen and Account Settings in the menu that opens.
- Select Security in Account Settings and make sure that Master Password is the active tab.
- Scroll down until you find the “Log in with passkey” section.
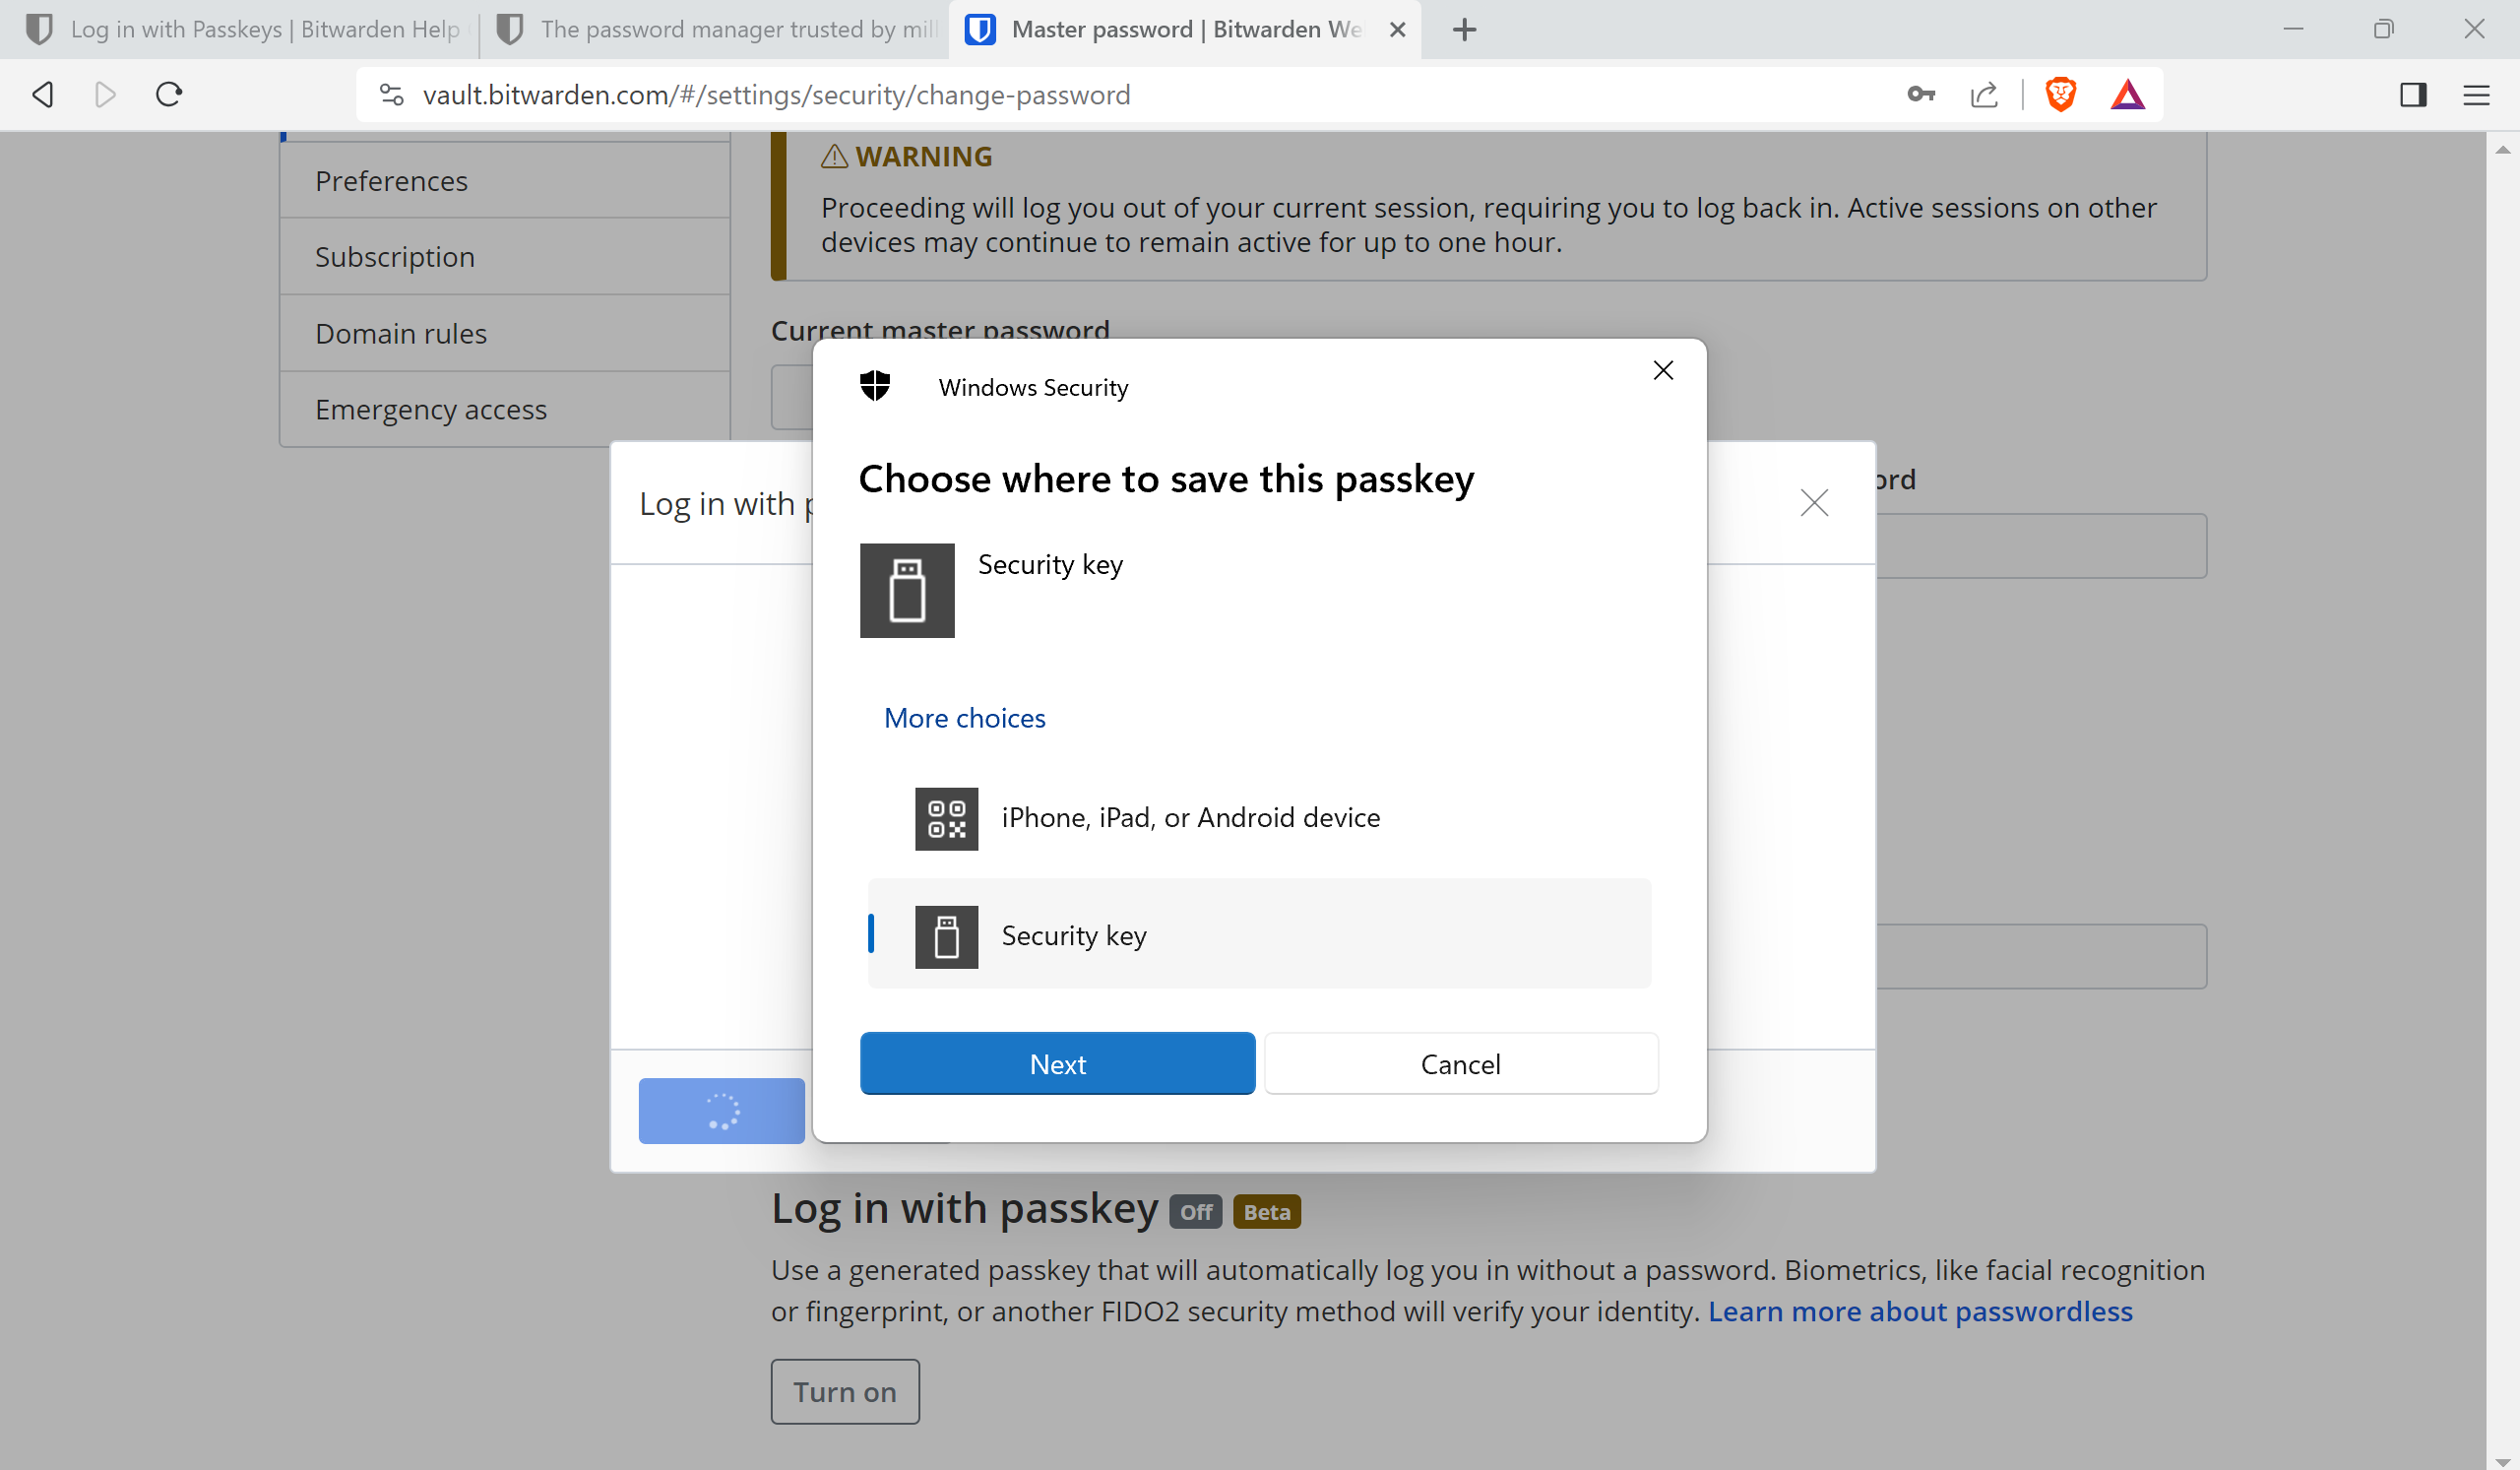
- Select the “Turn on” button to start the process.
- Provide the master password one last time to start the process.
- You should get an overlay prompt to create a passkey. Depending on your setup, you may use a hardware security key or something provided by the browser / operating system. Select Security Key, if you use a hardware key, and then next.
- Accept the Security key setup prompt with a click on yes.
- Accept the Continue setup prompt with a click on ok.
- Insert the security key into a port on the device. It should be detected automatically.
- Enter the Security Key Pin when prompted and select OK.
- Touch the security key button on the key to complete the process.
- Select OK when “Passkey saved” appears.
- Pick a name for the passkey, keep the “use for vault encryption” and select Turn On to complete the process.
- You are asked to sign-in with a passkey now. Select Security Key again and then Next.
- Type the security key PIN and select OK.
- Touch the security key button.
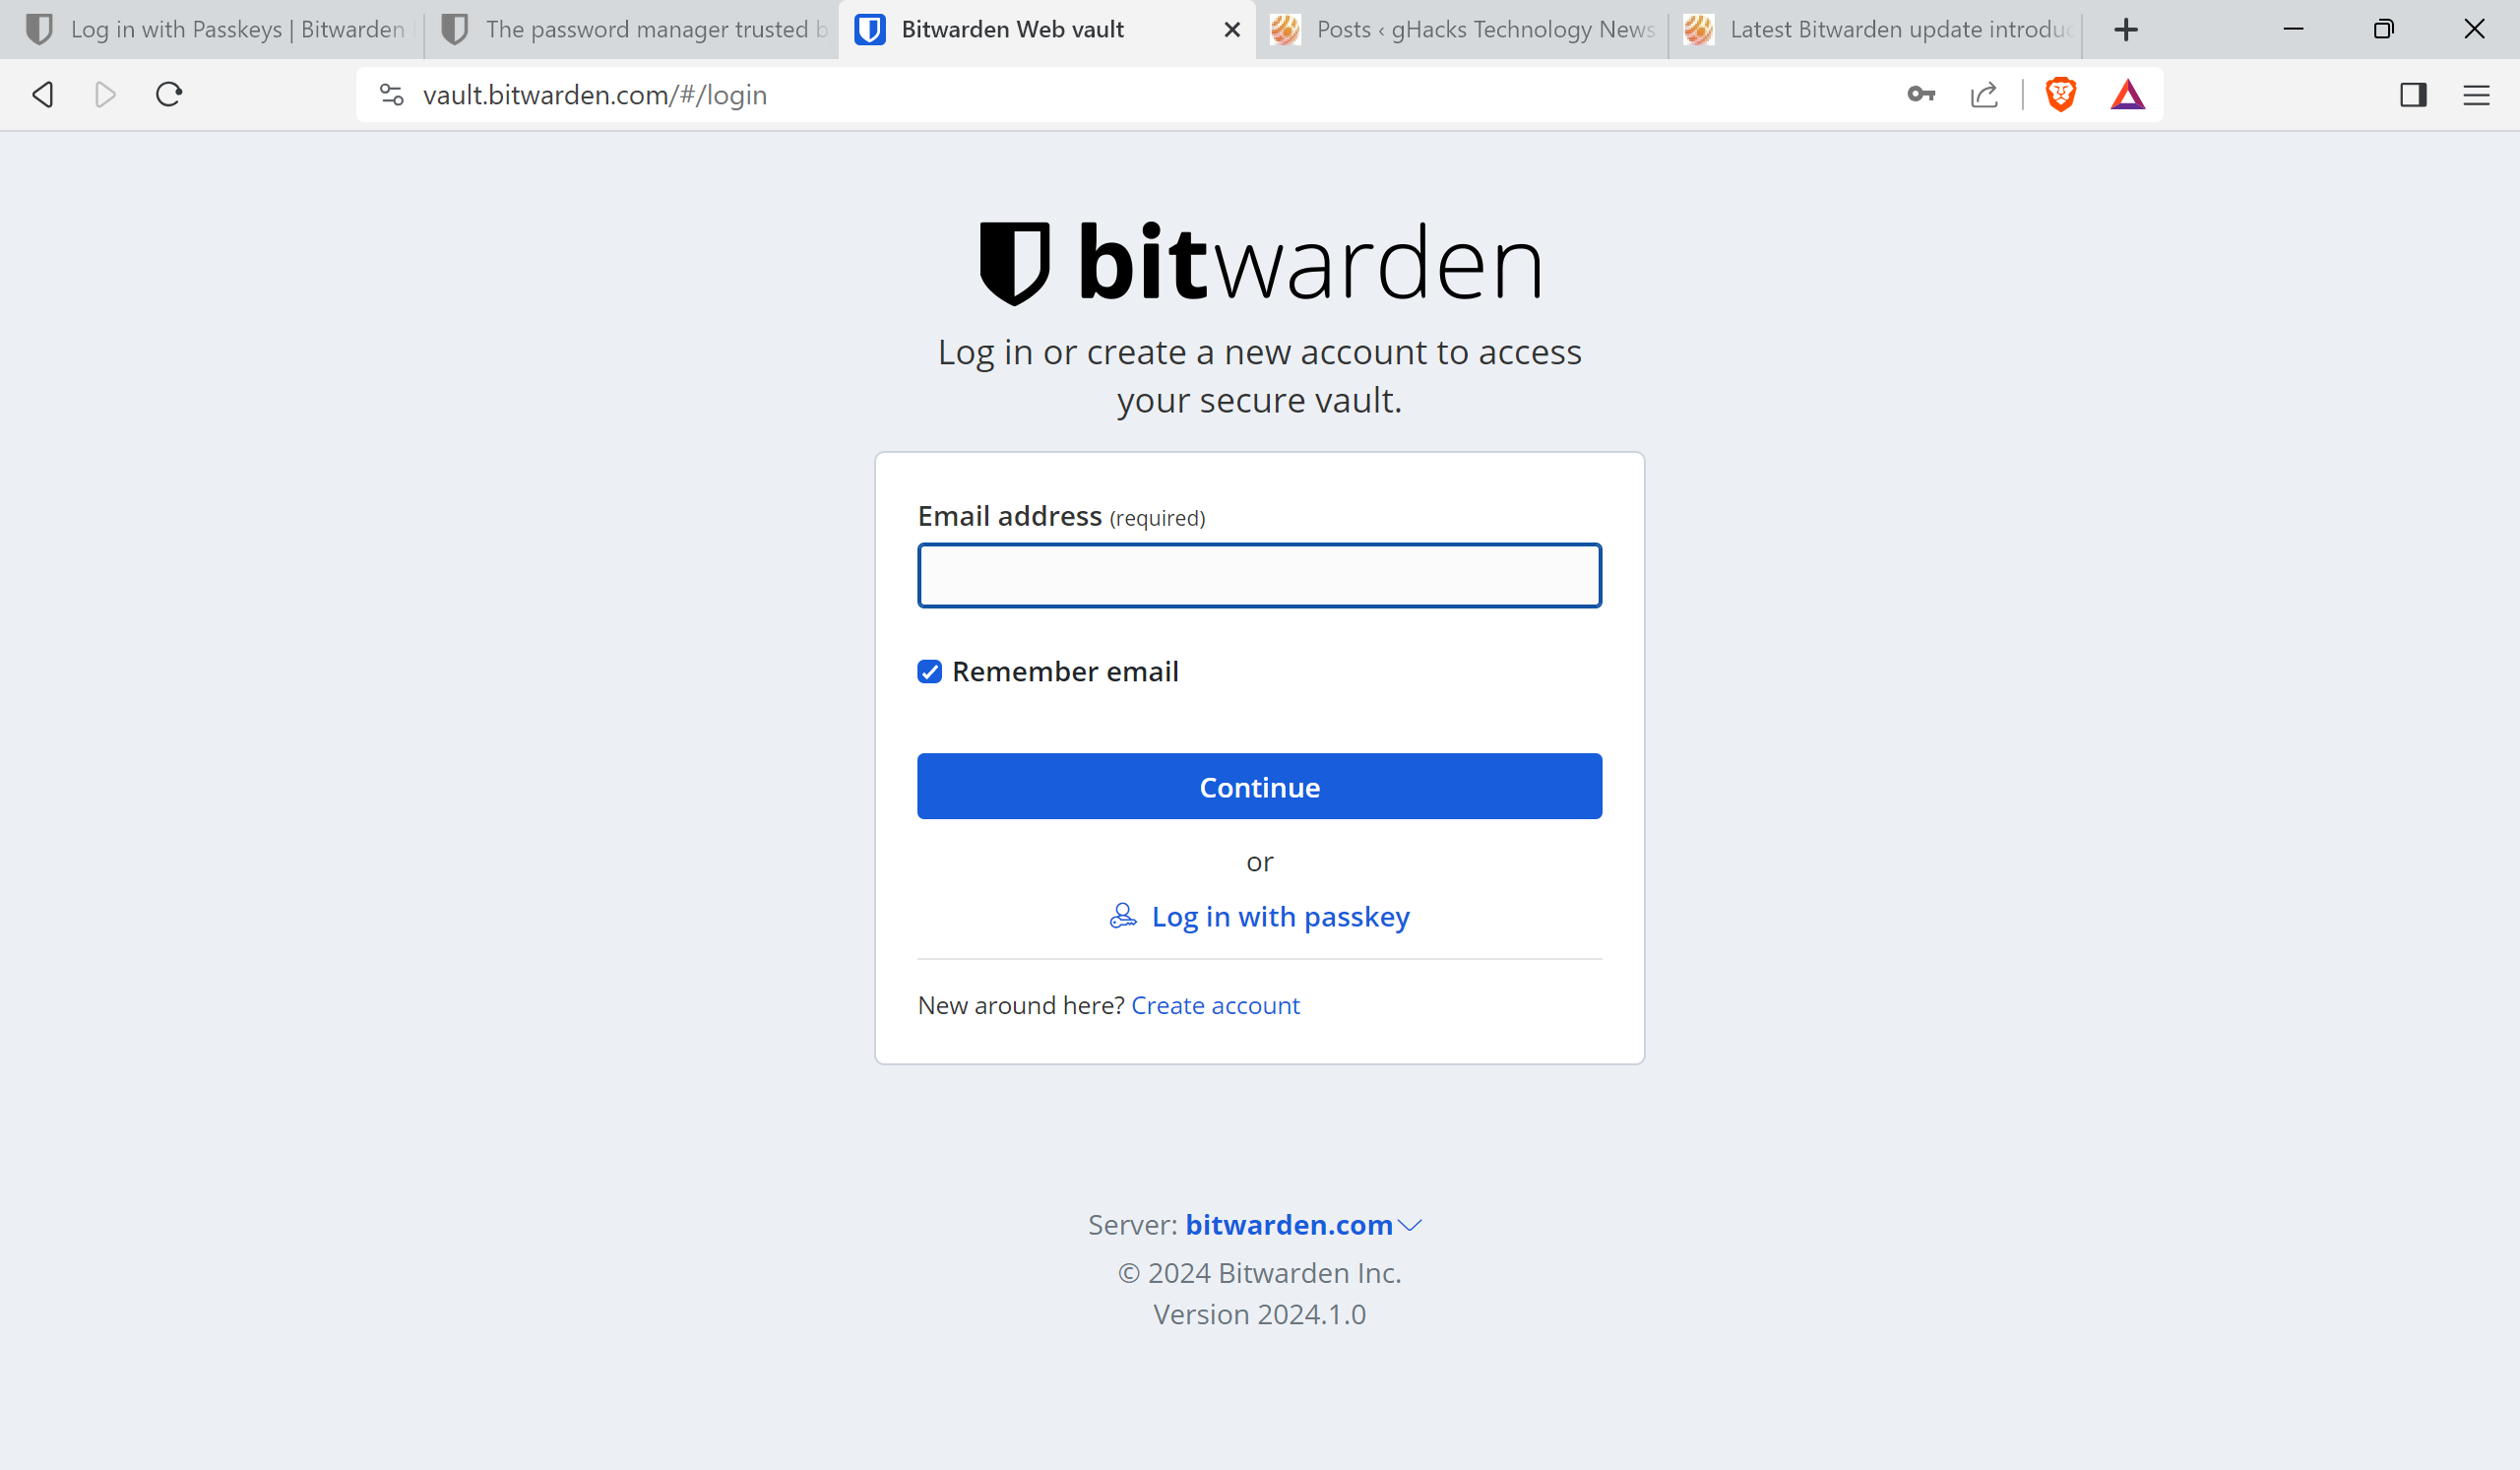
Whenever you sign in to the vault, you may now use the created passkey to do so. All it takes is to select “log in with passkey” on the sign-in page on Bitwarden’s website to start the process.
You are then prompted to connect the security key, type the Pin and press the button on the hardware key to verify the process.
Tip: you may add a backup 2-step login provider to Bitwarden. This lets you login even without the security key.
Closing Words
Using a passkey is a much simpler process once set up. Instead of having to type a, usually large, master password and maybe also second authentication code, you only have to provide a pin and use the security key to sign-in.
The post Bitwarden: how to create and use Passkeys to sign in appeared first on gHacks Technology News.