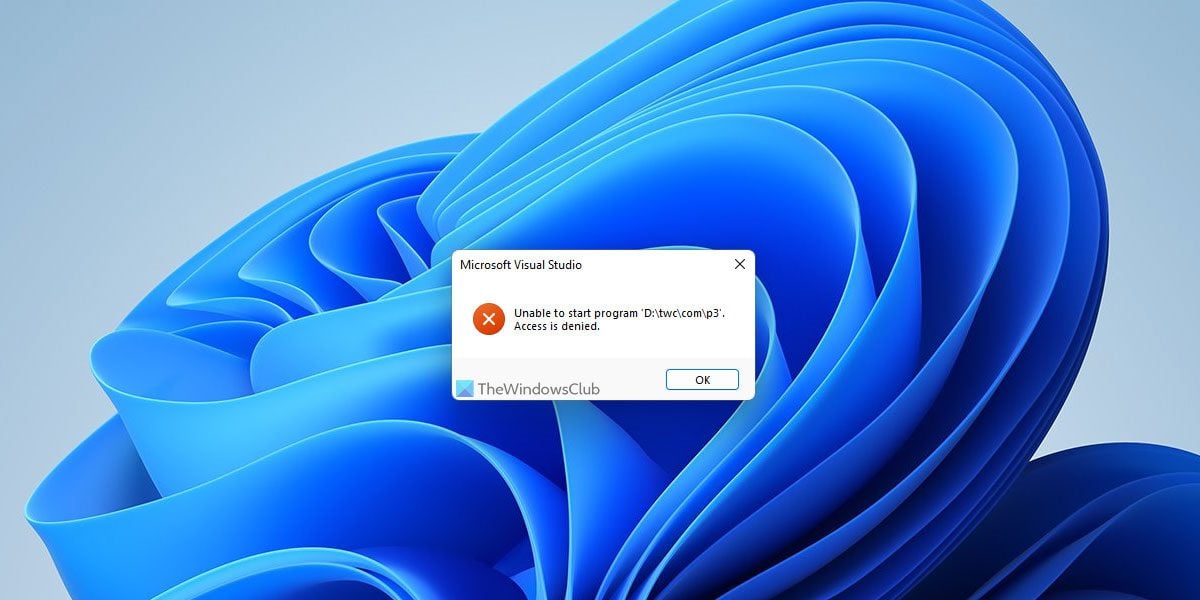
While debugging a program, if you get Unable to Start program, Access is denied error, here is how you can get rid of the issue. This error may occur in Visual Studio 2019 as well as Visual Studio 2022. Whether you get this issue on Windows 11, Windows 10, or any other older versions, you can go through these solutions to troubleshoot the issue.

Visual Studio, Unable to start program, Access is denied
To fix Unable to start program, Access is denied error in Visual Studio, follow these steps:
- Check with Administrator account
- Choose the correct file to compile
- Run installer from another drive
- Disable third-party firewall and antivirus
- Reset Visual Studio
To learn more about these steps, continue reading.
1] Check with Administrator account
At times, you might need to use your administrator account to run a project in Visual Studio in Windows 11 or Windows 10 PC. No matter which language you used, you need to opt for the administrator account in order to get rid of this issue. If you are using a Standard account now, you need to log out from that account and start using an administrator account.
There are mainly two ways to create an administrator account in Windows 11/10 PC. You can enable the hidden Administrator account or create a local Administrator account. You can follow either method to get the job done. Following that, you need to login as an Administrator to troubleshoot the issue.
2] Choose the correct file to compile
In most cases, users forget to choose the correct project file to compile. As a result, they encounter such an issue while debugging in Visual Studio. If you worked on a project earlier and later switched to a different one, this could be a common mistake. That is why it is highly recommended to verify the correct project file before trying again.
3] Run installer from another drive
If you have installed Visual Studio is another drive other than the system or C drive, you need to run the installer from that drive only. At times, your computer might fail to do everything when you install the program on another drive. Although it should not be an issue since Windows can run programs from any drive, Visual Studio could get you into trouble for that reason. That is why you can follow this step-by-step guide to move installed programs to another drive without losing data in Windows 11/10.
4] Disable third-party firewall and antivirus
Windows Security doesn’t create any issue with Visual Studio since they are very compatible with each other. However, if you use a third-party firewall or antivirus program on your computer, you might come across this issue. That is why it is recommended to disable your firewall and antivirus program temporarily to check if that resolves the issue or not.
If yes, you can try resetting those programs and check again. If that doesn’t solve the problem, you need to get rid of those apps in order to use Visual Studio without any errors.
Related: Visual Studio, Unable to start program, The system cannot find the file specified
5] Reset Visual Studio
To reset Visual Studio in Windows 11/10, follow these steps:
- Open Visual Studio on your computer.
- Click on the Tools menu.
- Choose the Import and Export Settings option.
- Select the Reset all settings option.
- Click the Next button.
- Select the Yes, save my current settings option to save the exiting setting.
- Select the No, just reset settings option to reset everything.
- Click the Next button.
- Click on the Finish button.
After that, check if there is any issue or not.
Read: Visual Studio Installer is stuck on Downloading
How do I fix access denied in Visual Studio?
In order to fix the Access is denied error in Visual Studio, you need to go through the aforementioned solutions. First, check if you have the administrator account or not. Following that, don’t forget to verify the firewall and antivirus settings. On the other hand, you may need to revert the settings in the Windows Registry to get rid of this issue.
How do I run Visual Studio as administrator?
To run Visual Studio as administrator in Windows 11 or Windows 10, you can use the Start Menu. That said, click on the Start Menu and search for visual studio. Once you see the search result, make sure that the Visual Studio is selected. If so, click on the Run as administrator option and click the Yes button in the UAC prompt.
