

People love to stay in touch. Whether that’s chatting to friends and family on video calls, messaging on WhatsApp or touching base while working remotely with Microsoft Teams or Slack. Gamers are no different.
In the old days, gamers would make use of text chat services like X-Fire or VOIP servers like Mumble, Teamspeak or Ventrilo. Things have come a long way since then though and both technology and demands have changed.
Now the modern gamer needs something that can do it all and Discord is the free software that does just that.
What is Discord?
At a basic level, Discord is one of the easiest ways to communicate with your friends via voice, text and video. If you’ve experienced Slack in the workplace, then think of Discord as the same thing, only aimed squarely at gamers and with a lot more features.
Discord is multi-platform and can be used wherever you are too. It’s available to download for free for Windows, Mac, Android, iOS and even Linux. You can also use it straight in a web browser without even downloading it. So not only can you use it while you’re at your gaming machine, but you can stay in touch when you’re out and about too.
Discord lets friends chat with each other either one-to-one or as a group via a server. You can use it to send direct messages to friends, have video calls with them, voice chat and even screen share.
Once you’re in a server, you can join a voice chat channel to get talking to other gamers playing specific games.
Discord is very user focussed and can be as private or public as you want it to be. Using Discord you are able to choose:
- Who you add as friends and who can add you
- Who can send you direct messages
- Who you block
- Which servers you join
- Who can join the servers you create
How to get started using Discord
The first step to getting started using Discord is to download it on your chosen device. Then you need to register for an account. It’s worth noting that there are no costs to this. Discord is totally free to use.
When setting up your account, we’d highly recommend using a strong and secure password and setting up Two-Factor Authentication to protect your account from being used by anyone else and to keep it safe. Discord has a detailed guide on setting up Two-Factor Authentication for the app which is worth checking out.
Once you’re logged in, you can then access a variety of other options from the settings menu. Click on the cog icon in the bottom left of the screen and you can then change all sorts of settings.
This includes things like privacy settings, authorised apps, keybindings, voice and video settings and more. If you want to stay safe online, then we’d recommend looking at the privacy settings first. From there you can set Discord to scan direct messages and stop you from receiving anything inappropriate.
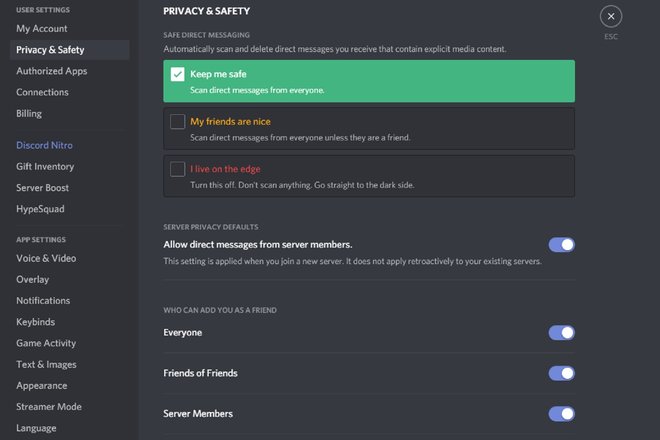
If you’re using public servers, you can also choose to disable settings that might allow server members to send you unwanted messages or add you as a friend.
How to find and add Discord friends
Obviously a chat app is not much use if you don’t have anyone to talk to. Luckily adding friends is fairly straightforward. When you’re logged in and on the home page, you’ll see an option marked friends and a big green button to “Add Friend”. Ask your friends what their Discord tag is and you can add them from here.
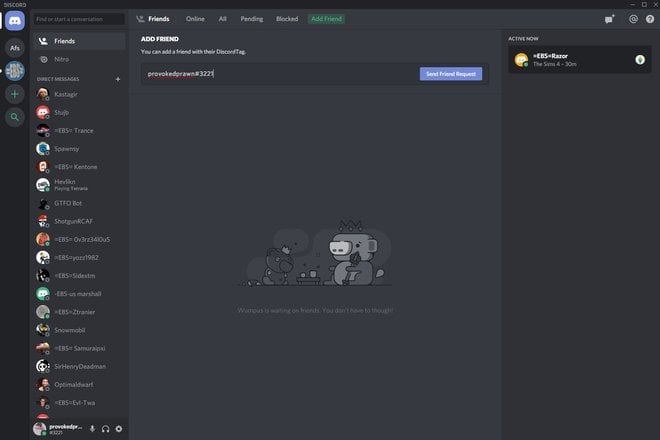
A user’s Discord tag is their username with a # and four digits after it. This looks something like this provokedprawn#3221 and can be found from the “My Account” page of your settings.
Another, perhaps easier way to add friends on Discord is to right-click them when you’re on a server together then click Add Friend. Of course, these options will only work if the people you’re trying to add have their privacy settings set in such a way that they will receive invites from everyone.
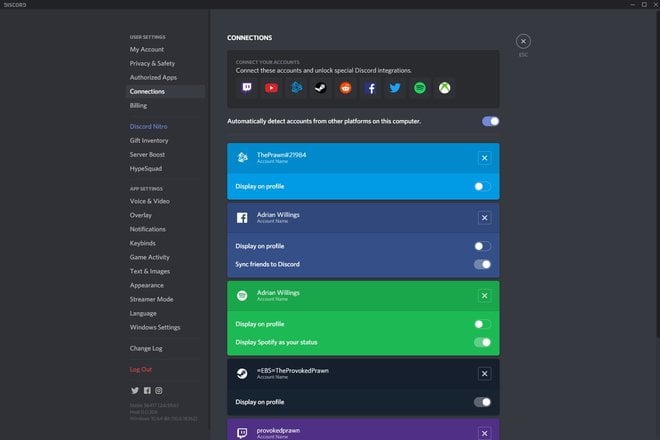
You can also add friends by connecting your other accounts. Add Facebook as a connection under the settings menu and you can sync your friends from the social network who are already using Discord.
Basic settings to tweak
There are a few different settings within Discord that we’d recommend changing or tweaking before you go any further.
- Voice and video settings: From here you can choose your microphone and headphone input and output as well as the volumes. It’s a good idea to test these settings and volumes before you start.
- Input mode: As part of the voice and video settings, you’ll find “voice activity” and “push to talk” as options under input mode. We’d highly recommend using push to talk. This requires a button press every time you talk, but you’ll soon find out there’s nothing worse than having a person on your voice chat server who has a mic that’s constantly picking up their keyboard sounds, a fan whirr or a dog barking in the background. Don’t be that person.
- Overlay: In the settings, you can adjust Discord so an overlay appears when you’re playing to show you who’s talking. It’s good to know who you’re chatting to when you’re gaming. Especially if you want to make new friends.
- Notifications: Another thing to tweak is notification sounds. As default, Discord will make all sorts of noises when things happen, for example, if someone calls you or joins the channel. If you’ve set up push to talk, we’d recommend unticking PTT activate and PTT deactivate or you’ll constantly hear beeps every time you press your key.
Chatting with friends
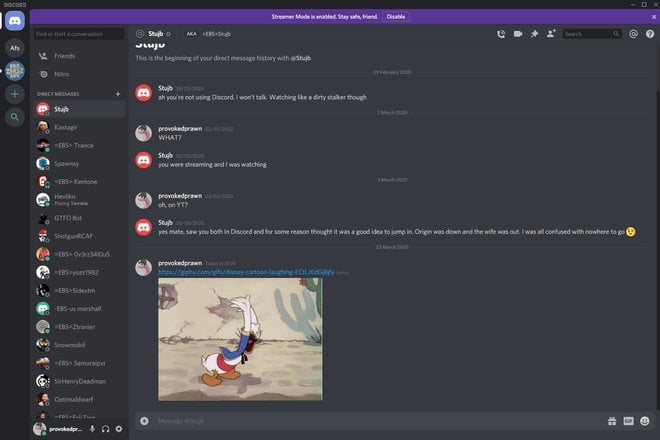
Once you’ve added friends and got all the settings tweaked nicely, it’s incredibly simple to get started chatting. Click on your friend on the left-hand side and you can send them messages, click to call them and video chat too.
Discord gives you plenty of ways to chat and communicate with your friends too. You can use simple text, emoticons and even add gifs. Discord also lets you share images, so you can send your pals screenshots of your winning games for them to admire.
The best way to enjoy Discord though is with servers.
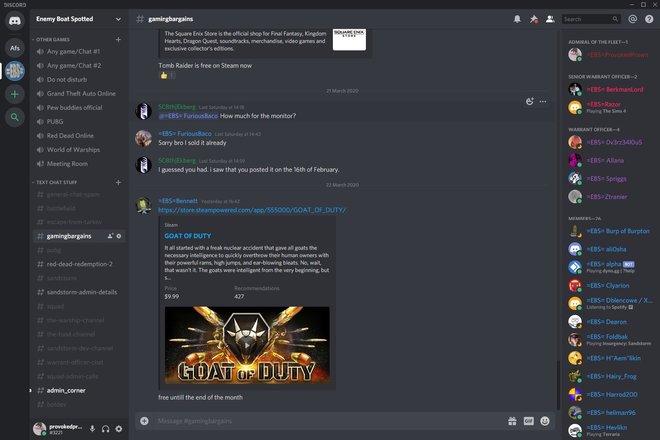
What are Discord servers?
Discord servers are free places where people can gather to chat about games or use voice channels to talk with friends as they play. You’ll find there are all sorts of servers out there. Game developers, for example, often have servers running for their games so like-minded gamers can get together and discuss the game and make new friends too.
You will also find clans, communities and groups of people with their own Discord server that they might invite you to.
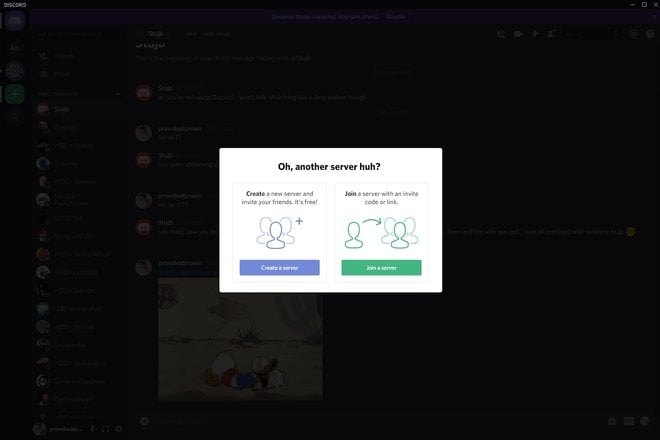
How to create a Discord server
Discord servers are free to create. So you have the option to create your own server that you can then use to invite friends to.
To create your own Discord server follow these steps:
- Login to Discord
- Click the green plus symbol on the left-hand side and click “create a server”
- Once created you can then click the plus symbol under “text channels” and “voice channels” to add new channels
- You’ll also find a drop-down menu at the top under the server’s name where you can access server settings
Server settings let you do all sorts of things. From here you can create roles for members, including setting up admin powers for trusted friends. You can also set moderation levels to stop new users spamming text chat or sending inappropriate messages. You can even add custom emojis and create a widget for your server you can share elsewhere here too.
Once your Discord server is created, right-click on either the text channel or voice channel and click invite to then send your friends an invite or create a link that’ll help others join your server. You can set an expiry time, max number of uses and even tick to make the membership temporary too if you want to take care around who joins your server.
Discord server text channels
Discord’s text channels are useful for all sorts of things. You can set them up for general banter, to discuss specific games, to organise gaming sessions with your friends or simply to share things you’ve found online.
Discord voice channels
Voice channels are chat rooms you can just for VOIP purposes. Drop into a channel and get talking with your friends using your headset and have a great time.
It’s worth noting that the server gives you various controls depending on whether you created the server or not. You can do simple things like increase or decrease another user’s volume in voice channels by simply right-clicking their name and adjusting a volume slider. There are also options to mute, kick, ban and more if you set up the server or have the right privileges.
When in a server, you can also mute and deafen yourself to stop from being heard or hearing others when you need quiet time. Alternatively, there’s usually an AFK (away from keyboard) channel when you need it.
How to join a Discord server
Like creating your own Discord server, it’s easy to join one too.
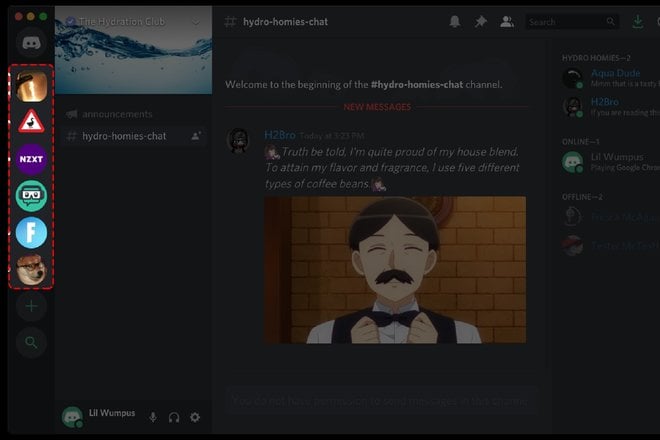
You can also be a member of more than one Discord server. In fact, you can join multiple servers with very little fuss. Membership is limited to a maximum of 100 servers.
To join a Discord server you first need an invite from a friend or server owner. Ask them to create you a link. Then click the plus symbol on the left of the server and click the “join a server” button. That allows you to input the link and get started. Alternatively, you can just click the hyperlink and it will load Discord with the new server open.
If a link doesn’t work it might be because you’ve been sent an expired code, been banned from the server or it’s just a bad code.
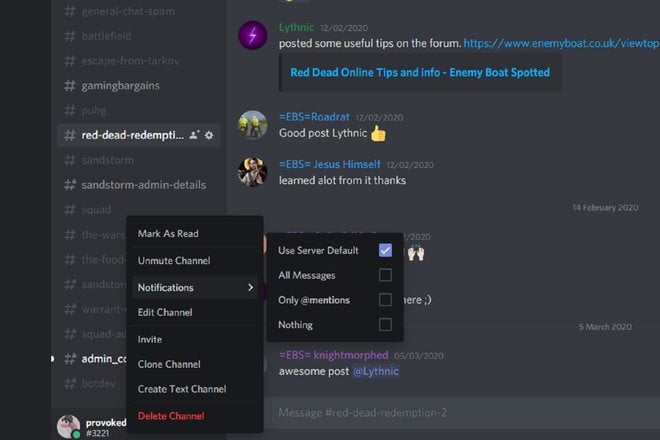
Muting channels
If you join a larger server, you might find that things get a bit overwhelming at times. If text channels are used a lot you’ll find yourself bombarded with notifications or icons when a channel gets a new message in it. We find it’s often best to mute channels you don’t need or want to hear from.
Right-click on a text channel and you can choose to either mute the channel as a whole or set it to only notify you if someone mentions you.
In channels, it is possible to mention users directly with @username. Type in their name and then your message and they’ll be notified. You can also use other commands like @here or @everyone to alert everyone on the server. If there are people who love the attention they might use and abuse that and it drive you mad. Don’t worry, you can always turn the notifications off, so you’re never notified if you don’t want to be.
Discord Commands
There are various commands you can use on Discord servers. These give you quick access to settings or let you do simple things like adding a hilarious gif into the middle of a chat.
Basic commands include:
- @username – This mentions a particular user and will notify them of your message. Replace “username” with the name of the person on the server to send them a note.
- @here or @everyone – notifies everyone to grab their attention for something special
- /giphy term – Insert a gif into the text chat channel
- /nick name – It’s possible to set a new nickname specifically for the server if you’re not happy with your current name without changing your username entirely
- /TTS message – this command has your message read aloud by a text-to-speech synthesiser. Use with care though as it’ll quickly be shut down by server admins if it is overly used
- /spoiler message – this allows you to send a message but hidden behind a spoiler warning to stop ruining things for people.
- /tableflip, /unflip and /shrug – these are just daft extra commands that add various emojis into the chat including the classic table flip and shrug emoji
There are a few other commands you can use as well, but these are the best ones. They are also subject to change as Discord is regularly being updated and improved.
What are Discord bots?
As standard, Discord is already pretty feature-rich and intelligent too. As a server grows, it can be tough to manage though and keep an eye on things. Discord bots are useful in various ways. You can add bots to your server to help moderate or do other clever things like integrating with other services and apps too.
There are various officially supported server bots available and unofficial ones as well these bots include:
- Moderation bots: These bots are designed to automatically manage your server. They will prevent spam, handle user banning and make it easier to use admin commands from the chat too. Examples of moderation bots include MEE6, Dyno, GAwesomeBot and Gaius.
- Translation bots: If your server has users from all over the world then a bot that is capable of translating into multiple languages is bound to be a welcome addition. New View does just that.
- Image bots: Jazz up your server with bots that can bring images in beyond your usual gifs. Dank Memer promises to fill your Discord server with hilarious memes.
- Music bots: These bots bring music into your server via YouTube, SoundCloud, Twitch and other services. Rythm bot also comes with lyrics, various commands and more.
- Game bots: Idle hands are the devil’s play thing. When server users aren’t gaming or chatting, you can keep them engaged with game bots. Cafe is one interesting example.
How to stream on Discord – Go Live mode
We already know it’s possible to stream your gaming on Twitch, YouTube, Mixer and more. But if you want to stream to a smaller audience you can use Discord’s Go Live mode to show off your gameplay to your friends.
To stream on Discord follow these steps:
- Click the little TV button with an arrow near your profile settings in the bottom left of the app
- Select the application or screen you want to stream
- Then choose the voice channel you want to stream in
- Then click Go Live and you’ll be live for people to watch
- Click invite to grab a direct link to give to your friends to watch
You’ll find a picture-in-picture view of your stream in the corner of Discord. You can also adjust the stream quality and frame rate from here too. Though you need a Discord Nitro subscription to get the higher 1080p and 4K settings here.
To watch other users who are streaming, you just need to watch out for the “live” icon by their names in the voice channels. Click their username and you can then click the “watch stream” button to watch the fun unfold.
It’s worth noting that Discord’s Go Live function lets you stream to up to 10 people normally but currently has a limit of 50.
Discord screen sharing
As well as going live on Discord, you can also share your screen with individuals and small groups. This is perfect if a friend needs tech support or you just want to show someone something without the hassle of capturing video and uploading it to YouTube.
To start screen sharing you first need to start a video call. Click on a friend, click the video camera icon at the top of Discord and start the call. You’ll then see the screen sharing icon at the bottom of the screen. Click that and you get the option to choose which screen or application to share.
Find out more about screen sharing on Discord here.
What is Discord Nitro?
For the most part, Discord is free to use. There’s no cost to use the app or to start a server. However, if you’re loving the experience you can subscribe to Discord Nitro.
Nitro enhances your already awesome Discord experience with access to things like animated emojis, bigger file uploads, higher-quality streaming options and more. It’s priced at $9.99 a month or $99.99 a year. Nitro is a good way to show your support for Discord and show off as a result too.