
In the early days of the Internet, there was just one ‘hosts’ file that was used to match computer names to IP addresses. All devices connected to the Internet are represented by an IP address. An IP address might look something like this: 172.217.23.238. As you can see, it would be difficult to remember the IP address of every device connected to the Internet! So, the hosts file contained a phonebook-like directory of IP addresses mapped to computer hostnames.
As the Internet developed and more devices were connected in different geographical locations, it was no longer practical to maintain a single hosts file. The Domain Name System (DNS) was created in 1984 to provide devices connected to the Internet with a way to look up hostnames by querying a set of distributed servers. And that is how the Internet works to this day.
Where is the hosts file in Windows 11?
But the hosts file remains part of most operating systems. It can be used to override results provided by DNS servers and provide hostname lookup on a local area network (LAN) in the absence of a DNS server. Depending on the operating system, the hosts file is found in a different location. For instance, in Unix, you will find the hosts file in /etc/hosts. And on all modern versions of Windows, including Windows 11, the hosts file is in %SystemRoot%System32driversetchosts. The %SystemRoot% environment variable by default points to C:WINDOWS.
How the hosts file works
The hosts file contains lines of text with two columns. In the first column there is an IP address. And in the second column, there is a computer hostname. The two columns can be separated by a space or tab. So, an example hosts file might look like this:
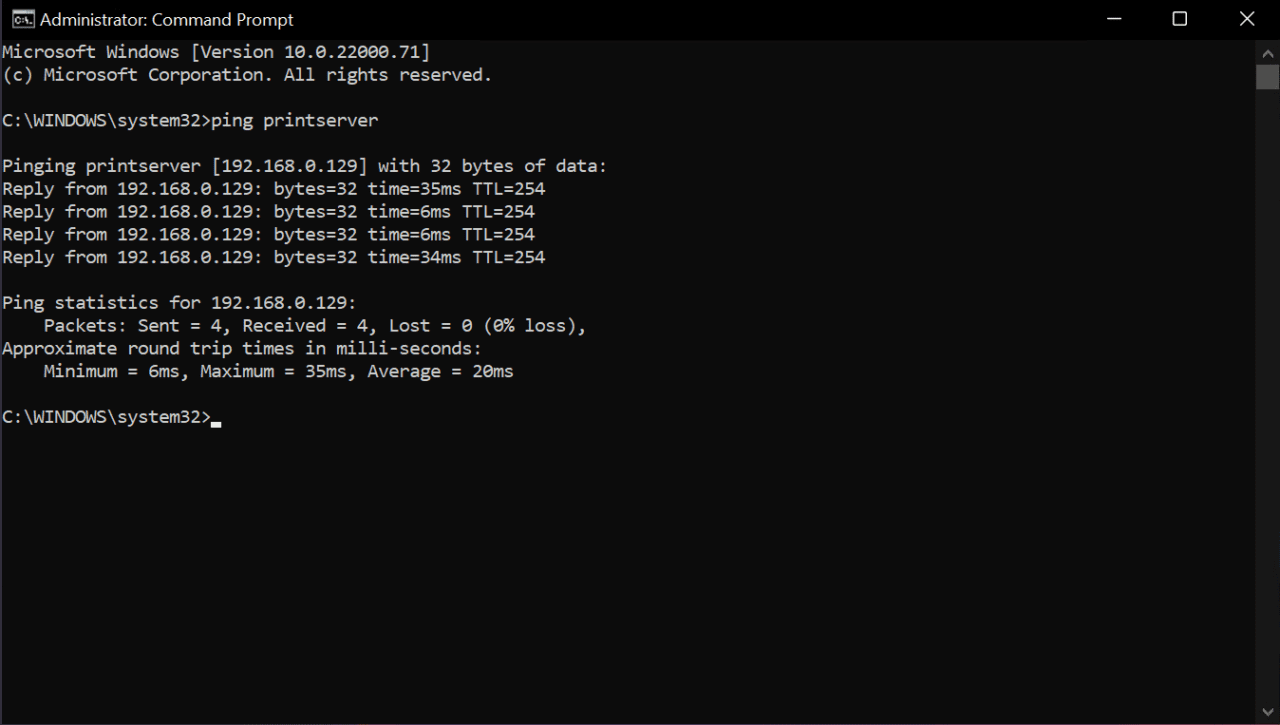
192.168.0.10 bobpc
192.168.0.11 clairepc
192.168.0.129 printserver
If you add these entries to the host file on a device, then you can ping each host by name and the computer can resolve it to the corresponding IP address. For example, ping printserver would return a reply like this:
You can also use Fully Qualified Domain Names (FQDN) in a hosts file. For example:
172.217.23.238 google.com
The hostnames you add to the hosts file are not case sensitive. They can be in uppercase, lowercase, or a mixture of both. Be aware that the hosts file is sometimes used by hackers to redirect network traffic to malicious sites. That is why only administrators can edit the hosts file in Windows.
View the hosts file in Windows 11
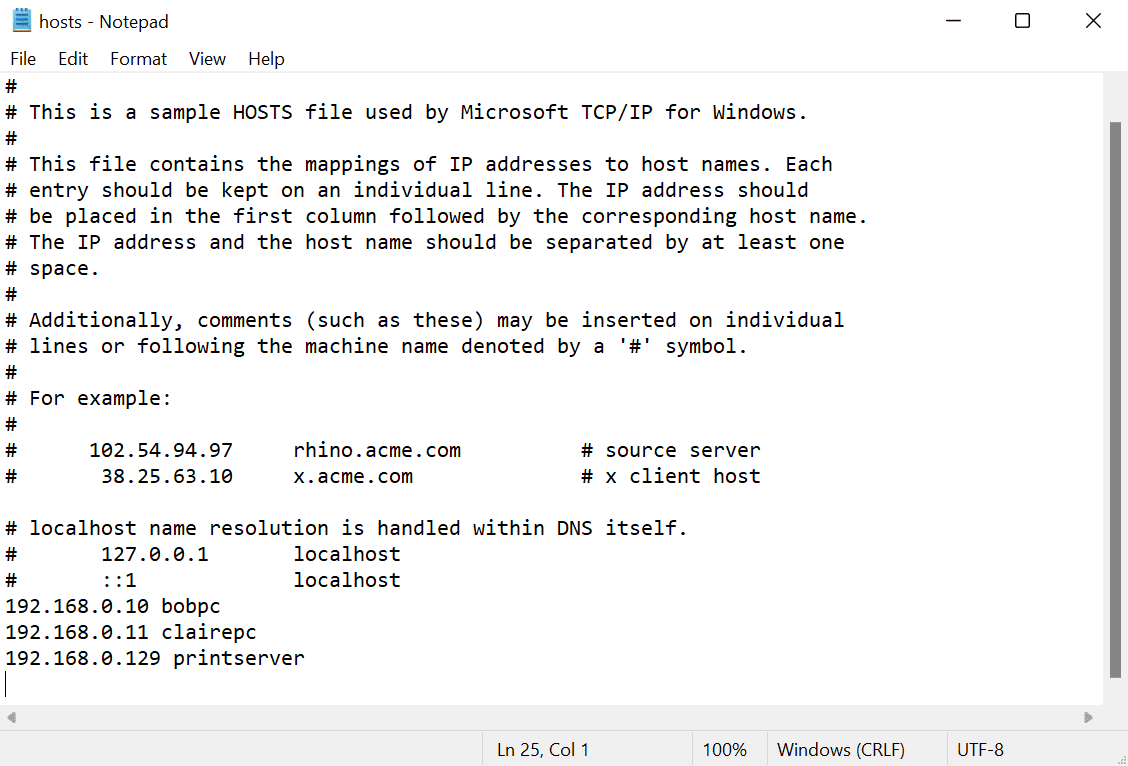
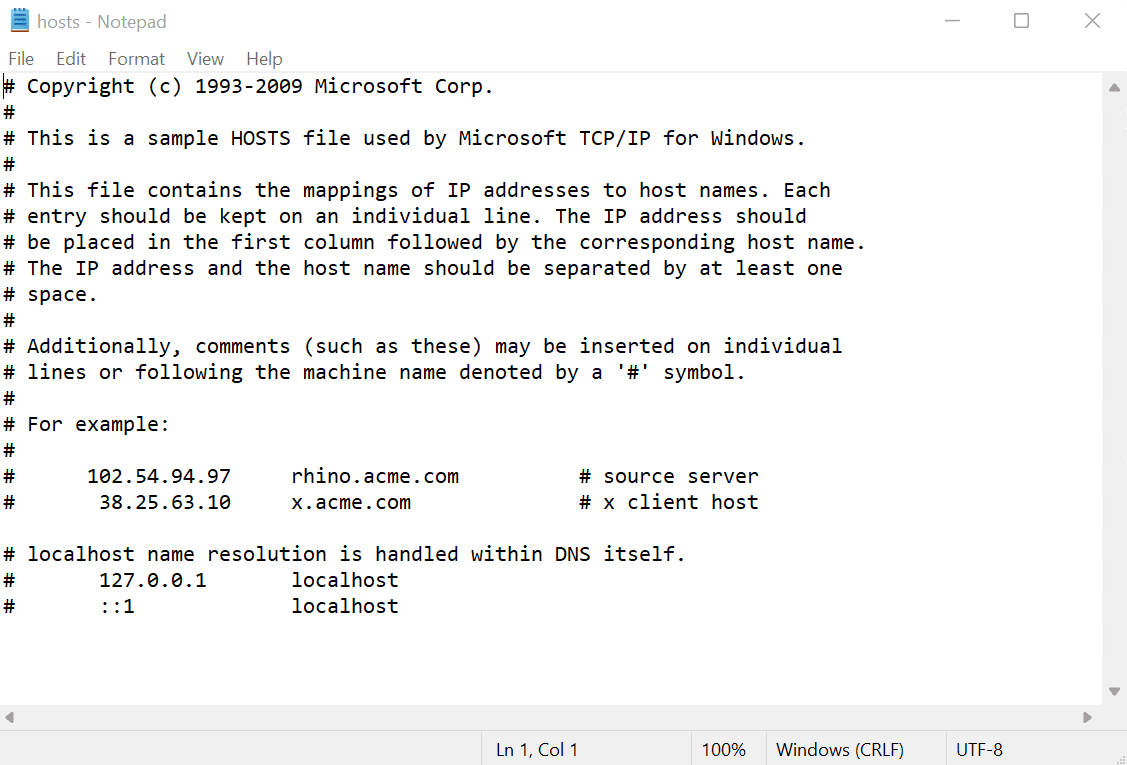
By default, the hosts file in Windows 11 doesn’t contain any valid entries. By that, I mean everything is commented out using the hash # symbol. Let start by opening the hosts file in Notepad.
- Click Start on the taskbar.
- Type notepad and press ENTER.
- Press the Windows key (WIN) + E to open File Explorer.
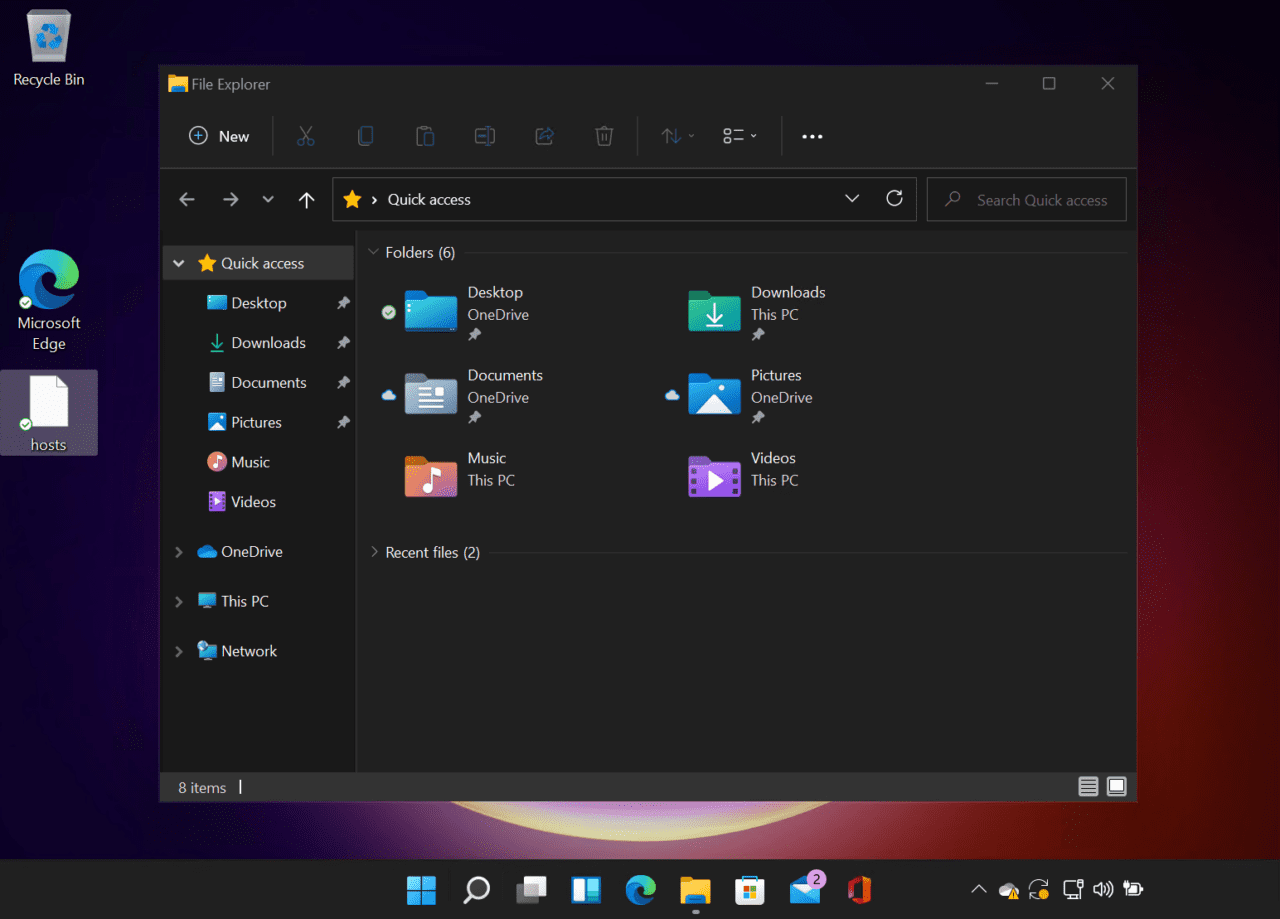
- In the box where it says ‘Quick access’, paste the following path and press ENTER: %SystemRoot%System32driversetc
- In the list of files, you will see hosts.
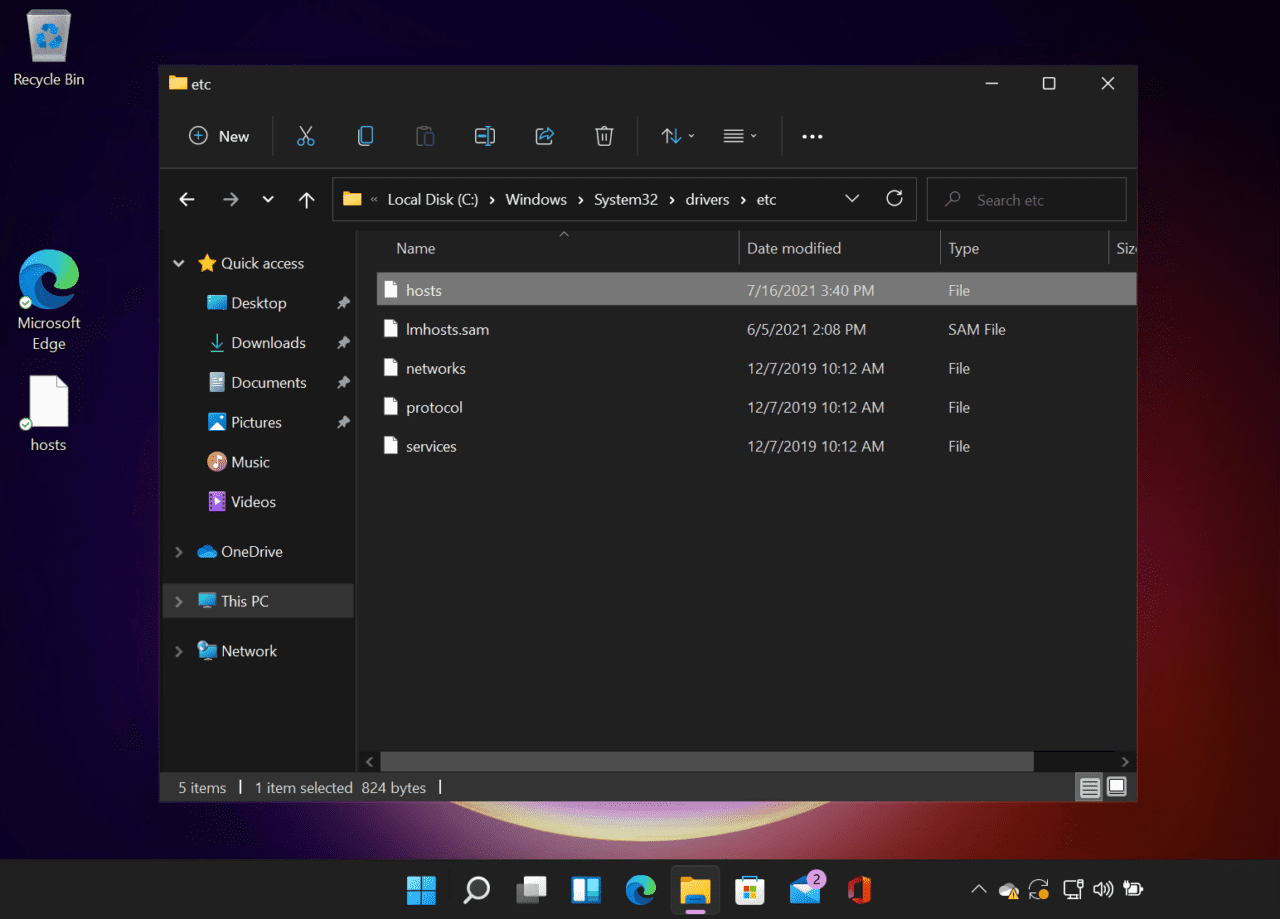
- Arrange File Explorer and Notepad so that are side-by-side.
- Drag the hosts file from File Explorer into the Notepad window.
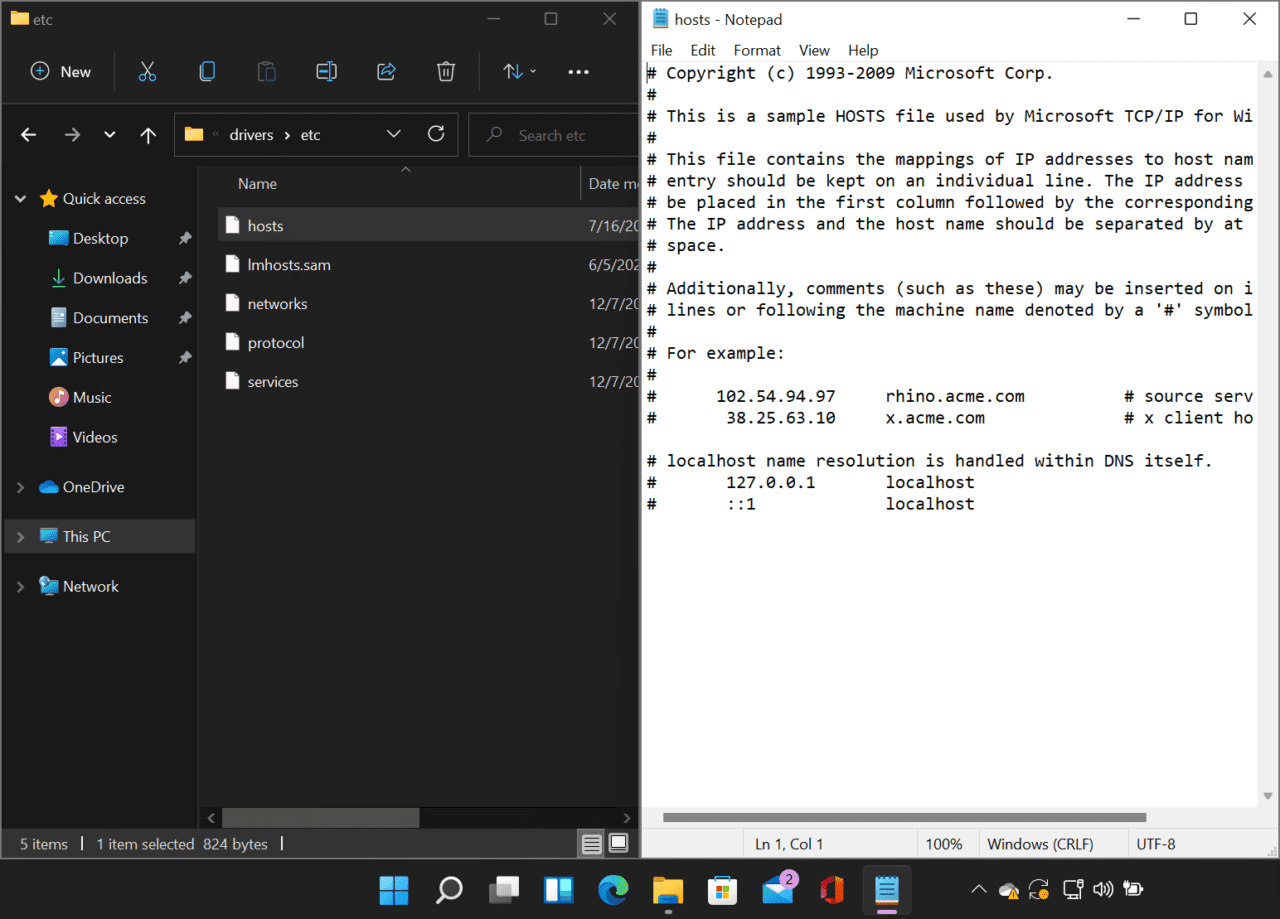
You’ll see that there are two entries at the bottom that are both commented out. The first entry is the IPv4 address for localhost. And the second entry is the IPv6 address for localhost.
# 127.0.0.1 localhost
# ::1 localhost
But if you try to add an entry to the hosts file, you won’t be able to save it. The hosts file can only be edited by administrators because it is in a protected system directory.
Edit the hosts file in Windows 11
There are two ways that you can edit the host file. The first involves making a copy of the original file and then replacing it. The second uses the command line to append a line to the hosts file.
Edit the hosts file using the GUI and Notepad
The easiest way to edit the hosts file is to make a copy of it and then replace the original in the ‘etc’ folder.
- Open File Explorer by pressing the Windows key (WIN) + E.
- In the box where it says ‘Quick access’, paste the following path and press ENTER: %SystemRoot%System32driversetc
- In the list of files, right click hosts while at the same time dragging the file to the desktop.
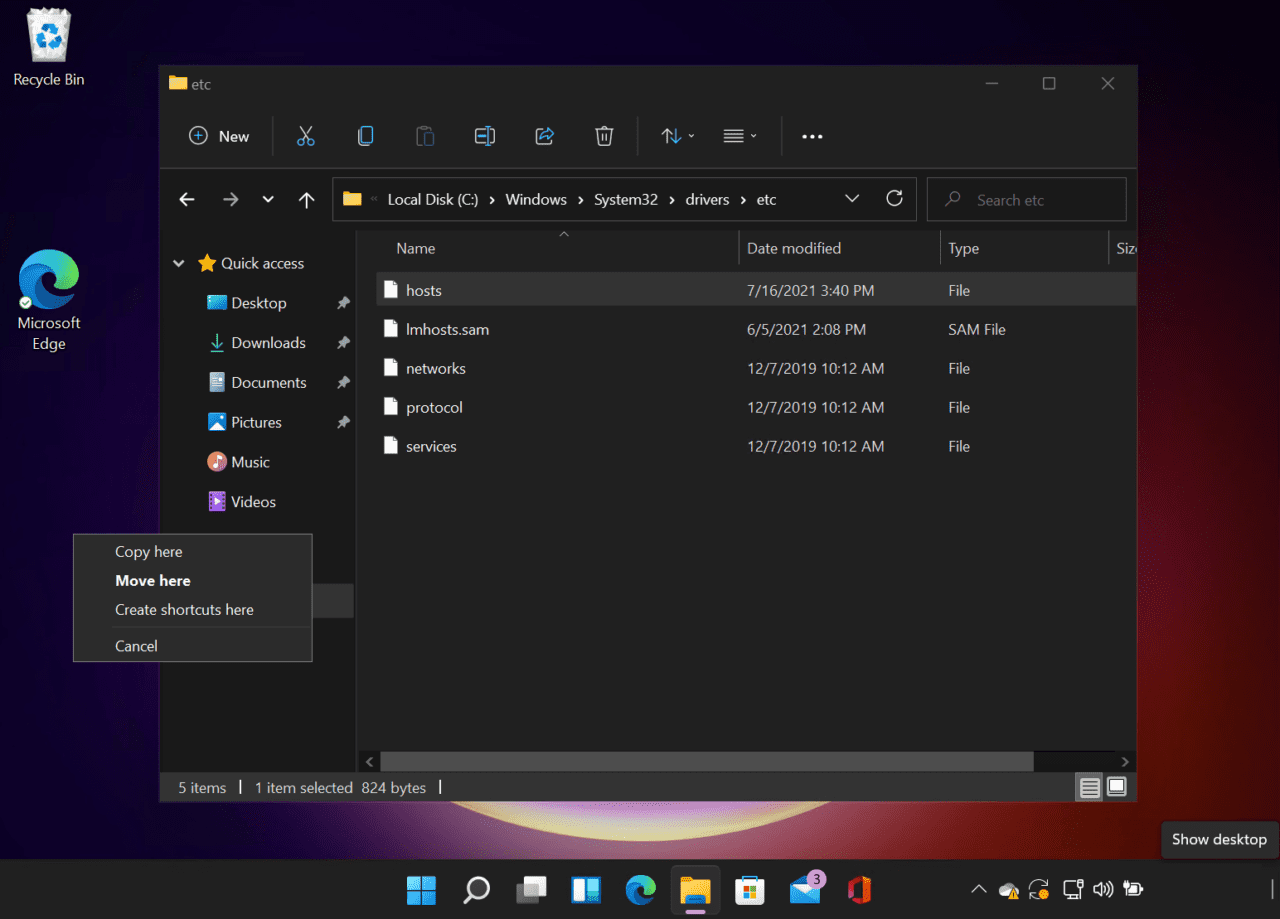
- Release the mouse button and then select Copy here from the menu.
- Click Start on the taskbar.
- Type notepad and press ENTER.
- Drag the hosts file from the desktop into the Notepad window.
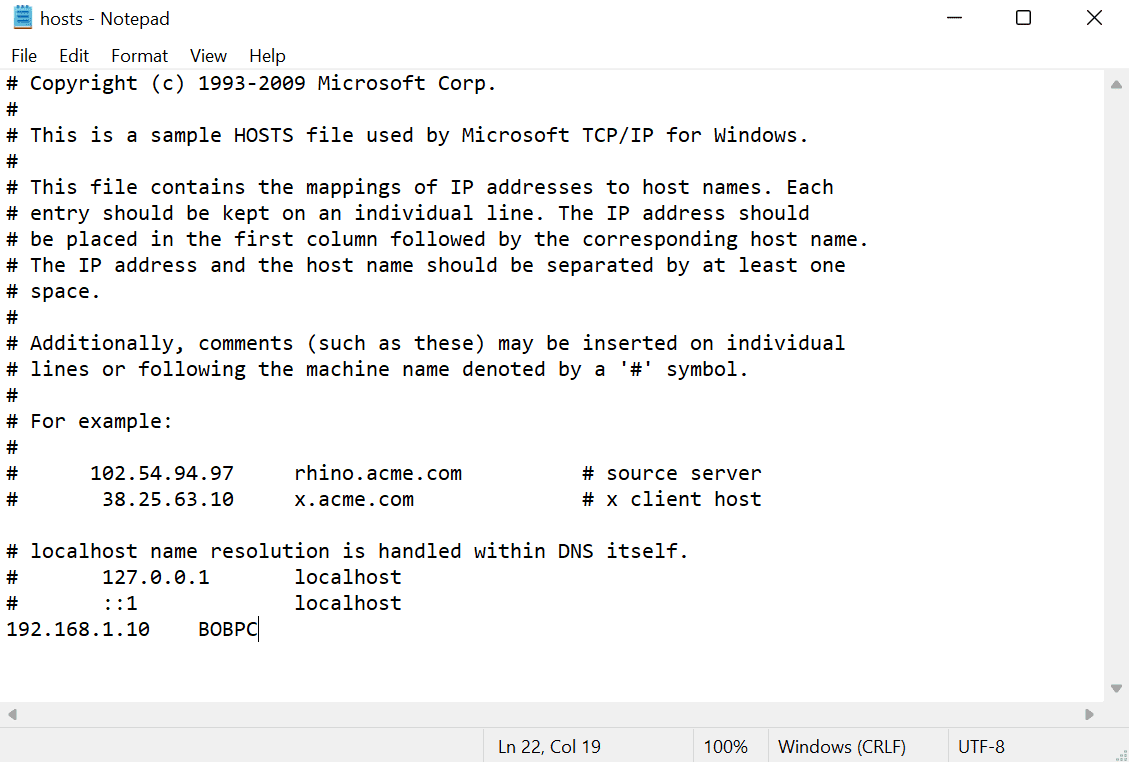
- Add your entry at the bottom of the file. In this example, I will add the following entry for my local area network:
192.168.1.10 BOBPC
- Press CTRL + S to save the file.
- Close Notepad.
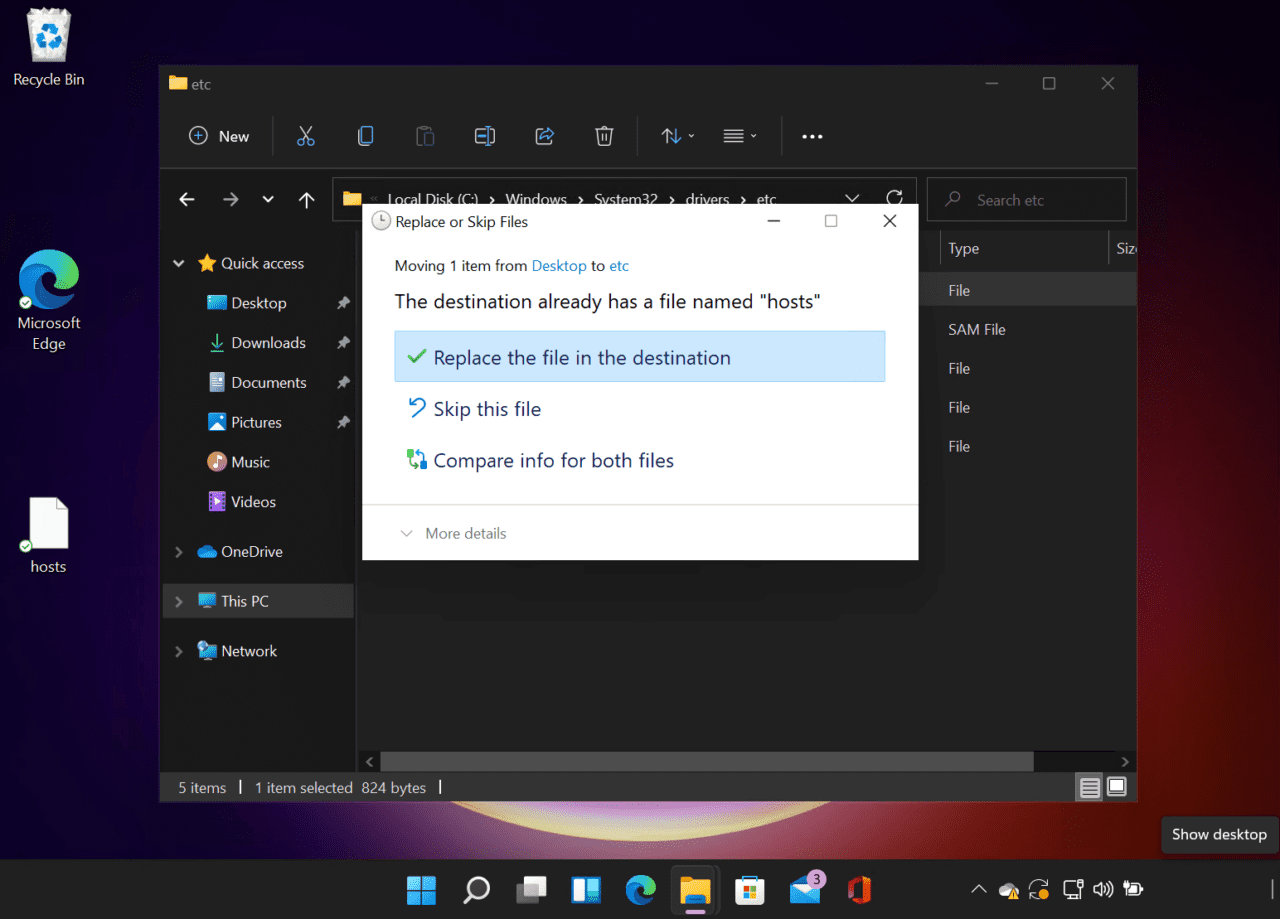
- Now using the mouse, drag the hosts file on the desktop back to the File Explorer window.
- In the Replace or Skip Files dialog, click Replace the file in the destination.
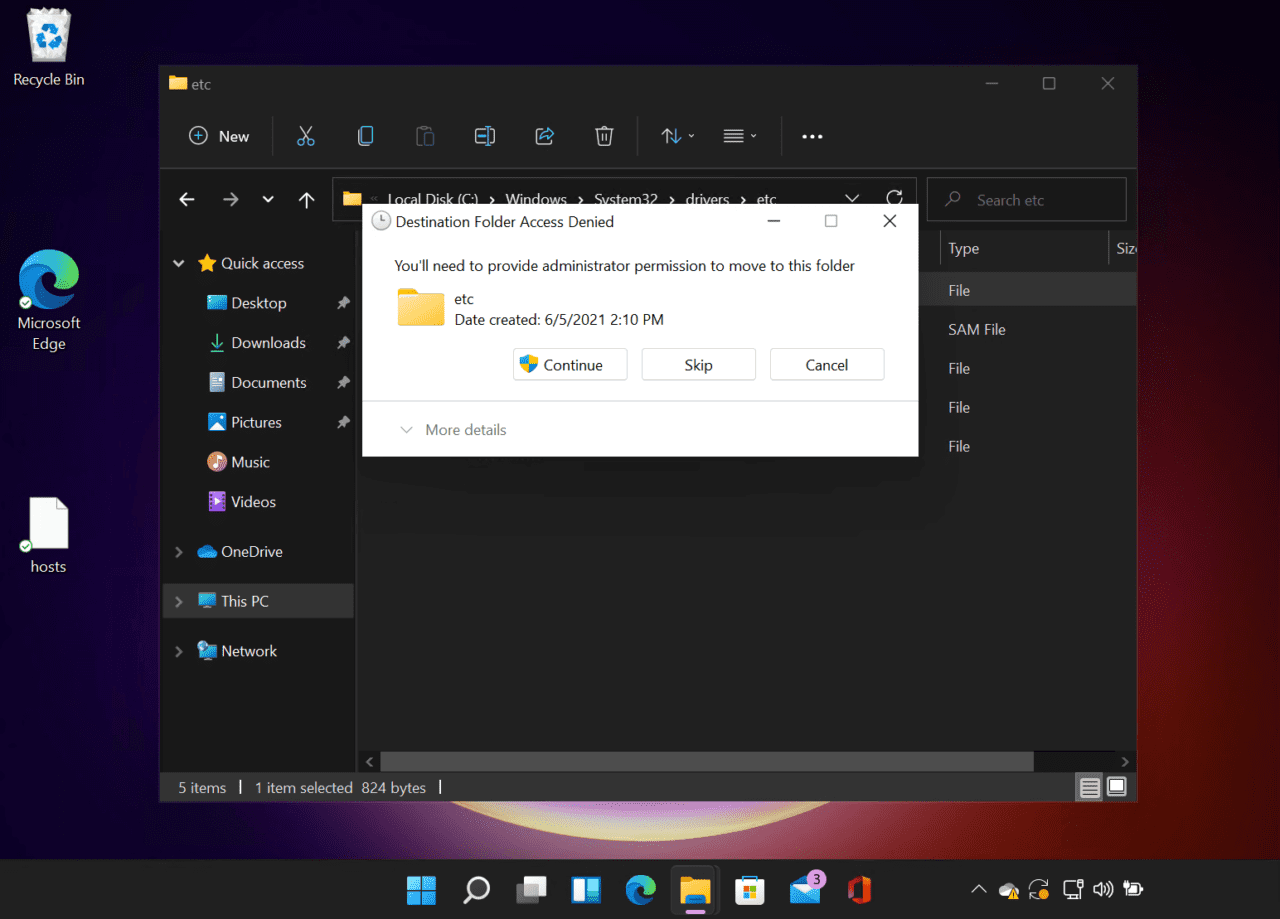
- In the Destination Folder Access Denied dialog, click Continue.
- You may be required to provide consent or enter an administrator username and password to complete the operation.
- Open Notepad again by clicking Start on the taskbar, typing notepad, and pressing ENTER.
- Drag the hosts file from File Explorer into the Notepad window.
- Now you can see your new entry in the hosts file.
Edit the hosts file using the command line
This method uses the command line and is much faster than the method above.
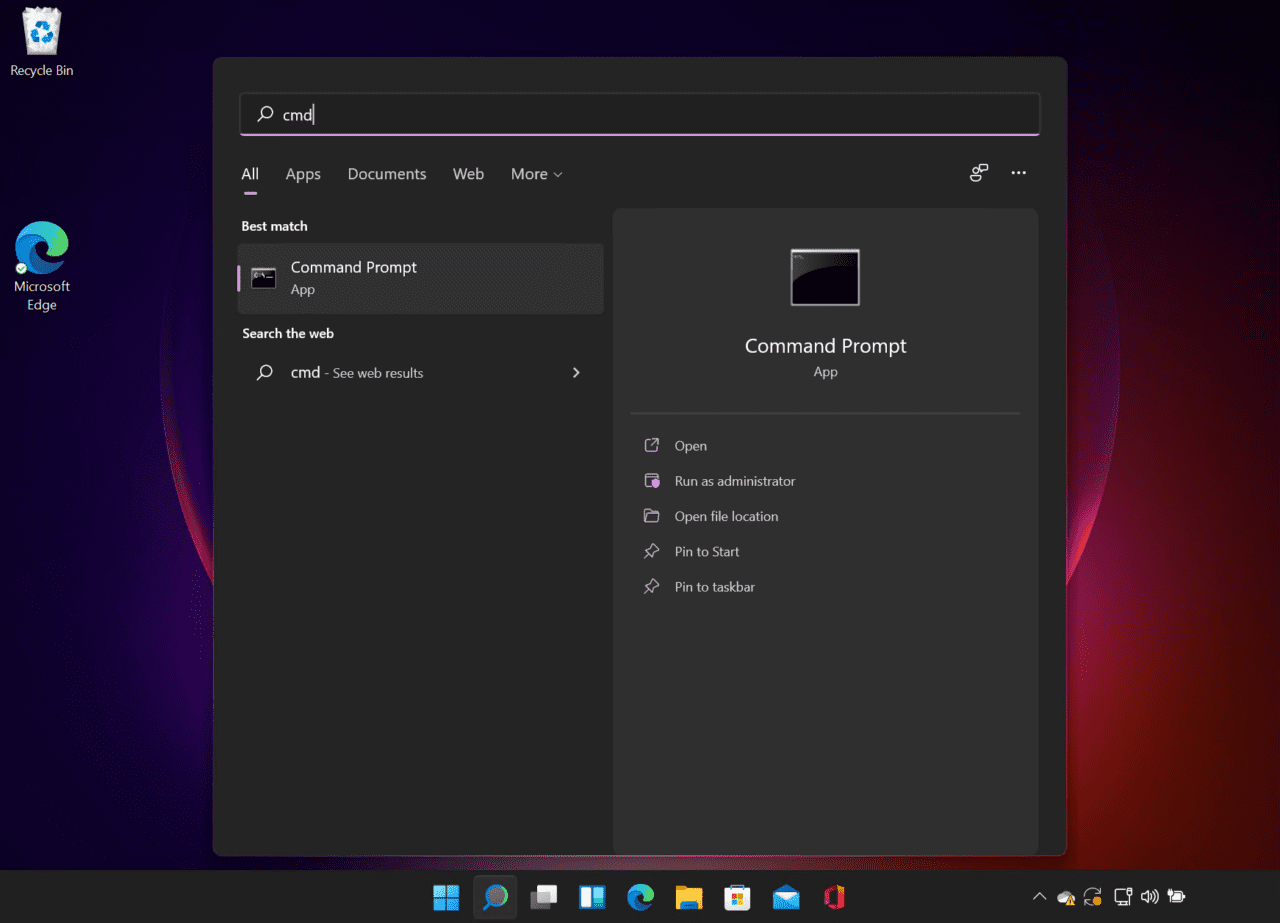
- Click the Start menu on the taskbar.
- Type command and then making sure Command Prompt is highlighted on the left, click Run as administrator in the pane on the right of the search results.
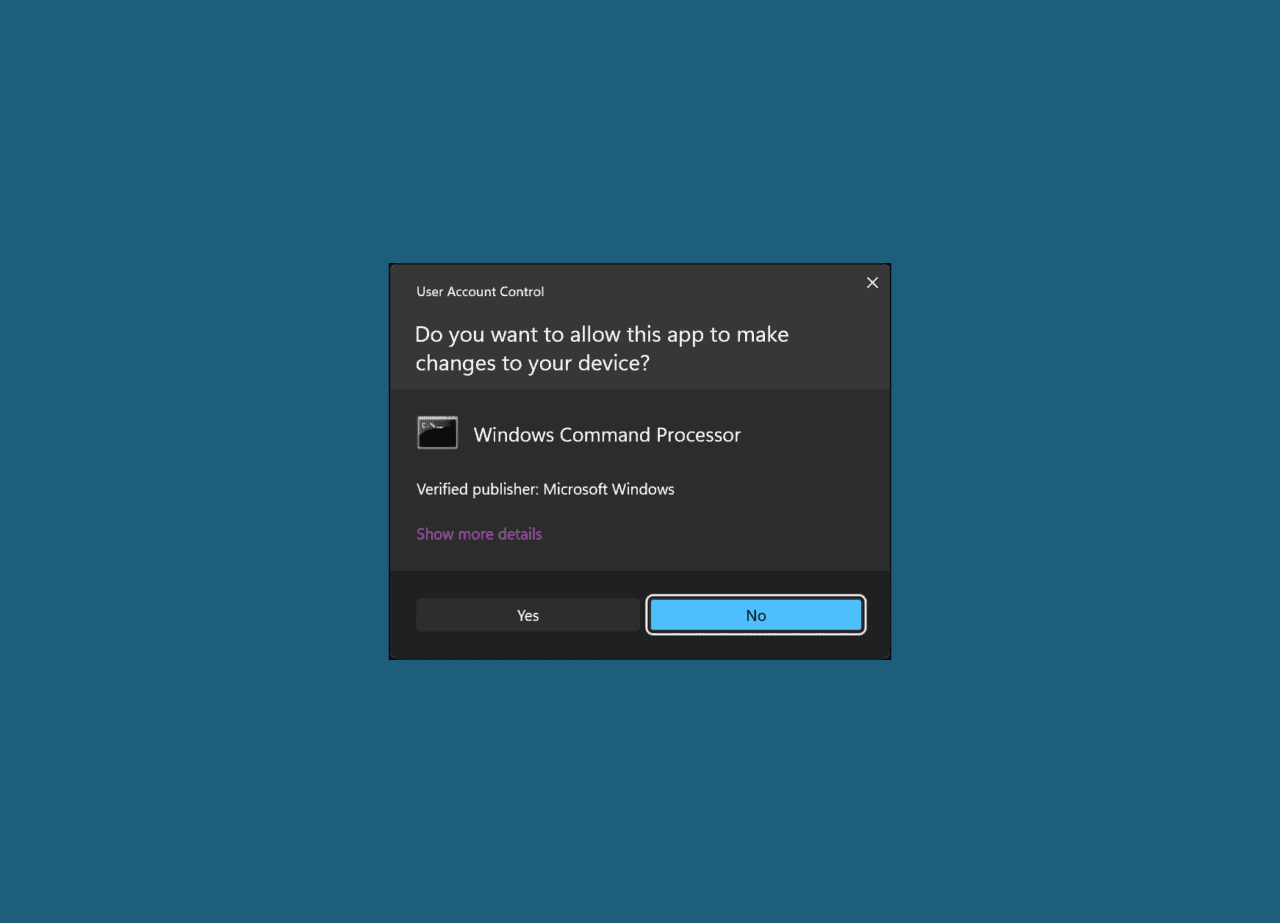
- Give consent or provide an administrator username and password as prompted.
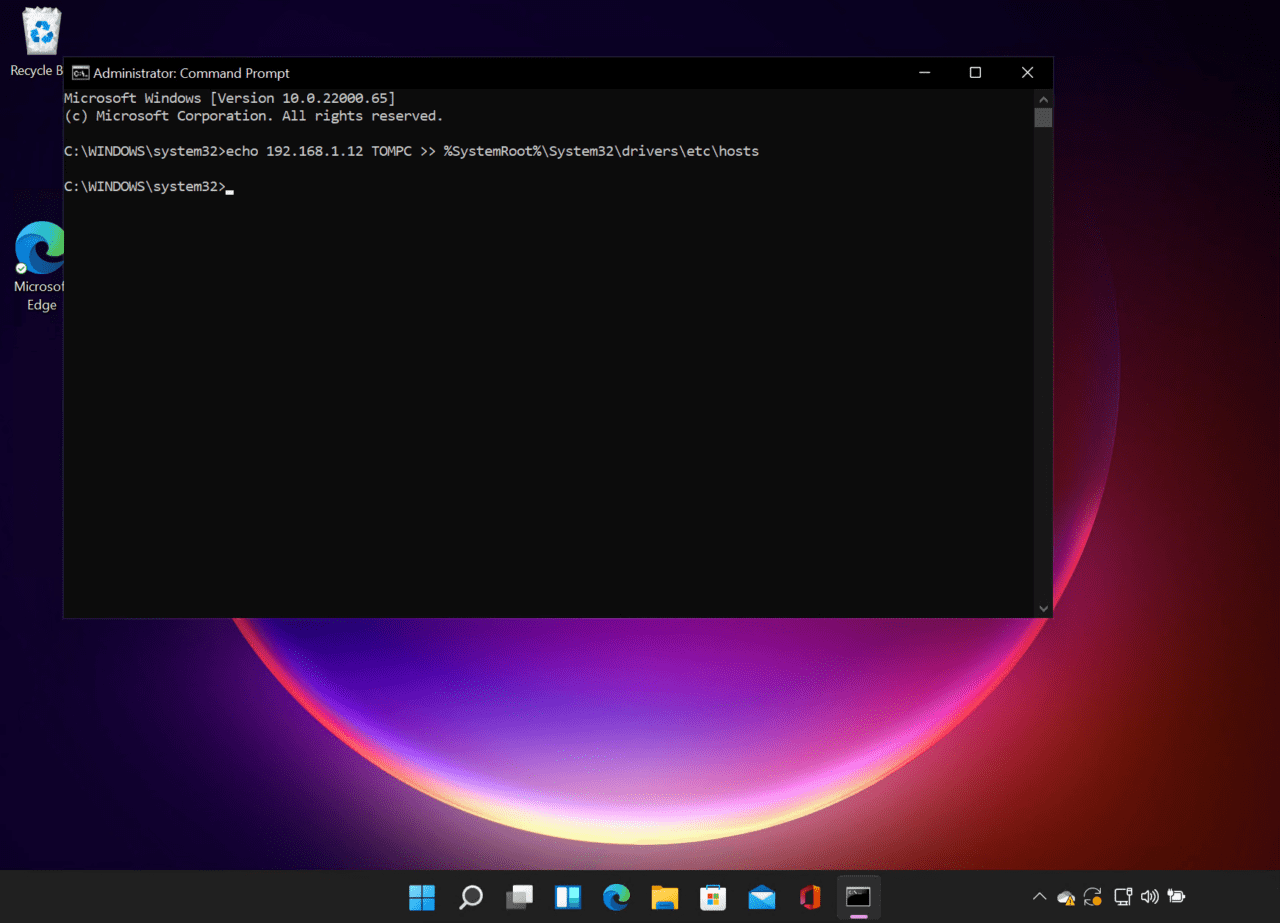
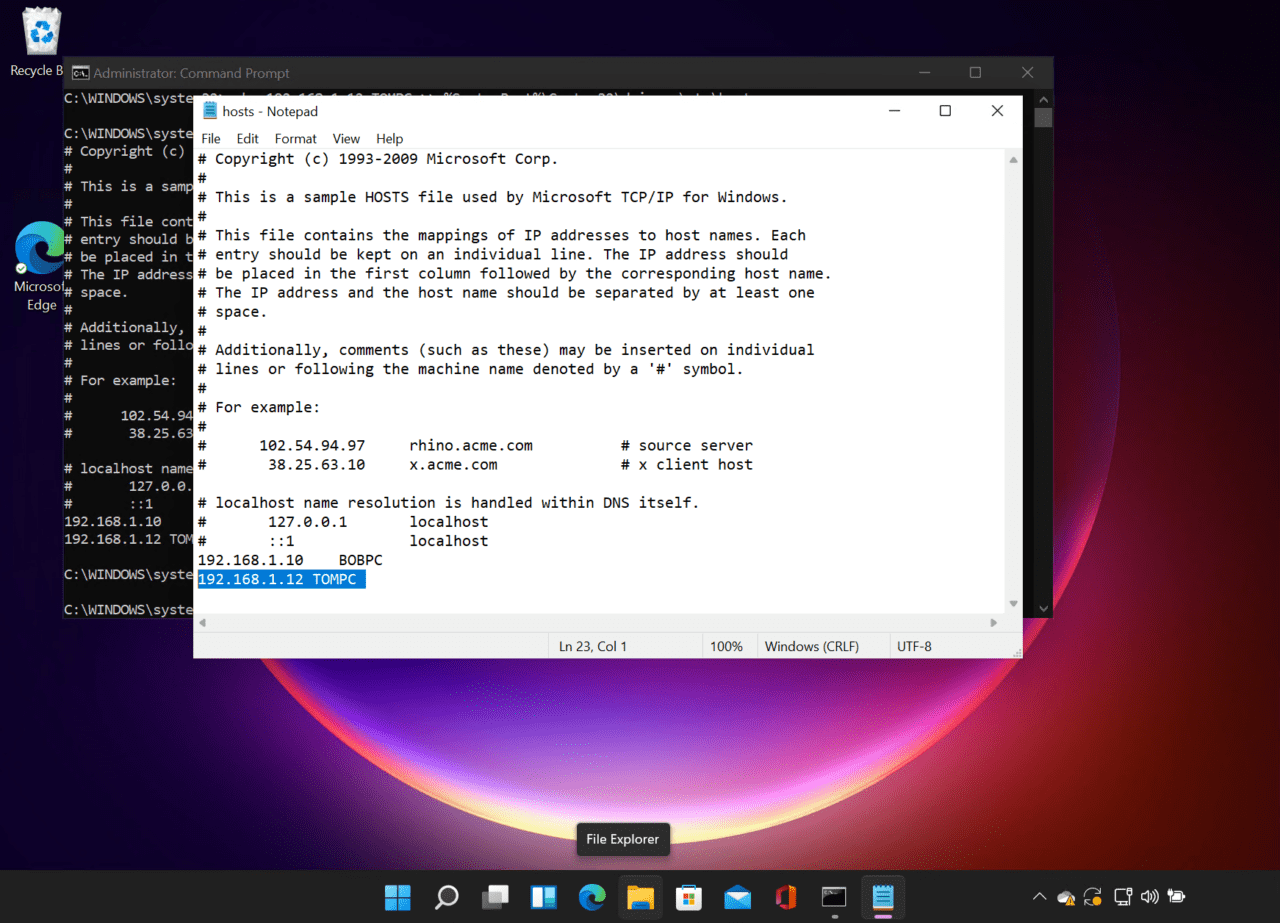
- In the command prompt window, use the echo command as shown here to add an entry to your hosts file. In this example, I’ll add 192.168.1.12 TOMPC to the hosts file.
echo 192.168.1.12 TOMPC >> %SystemRoot%System32driversetchosts
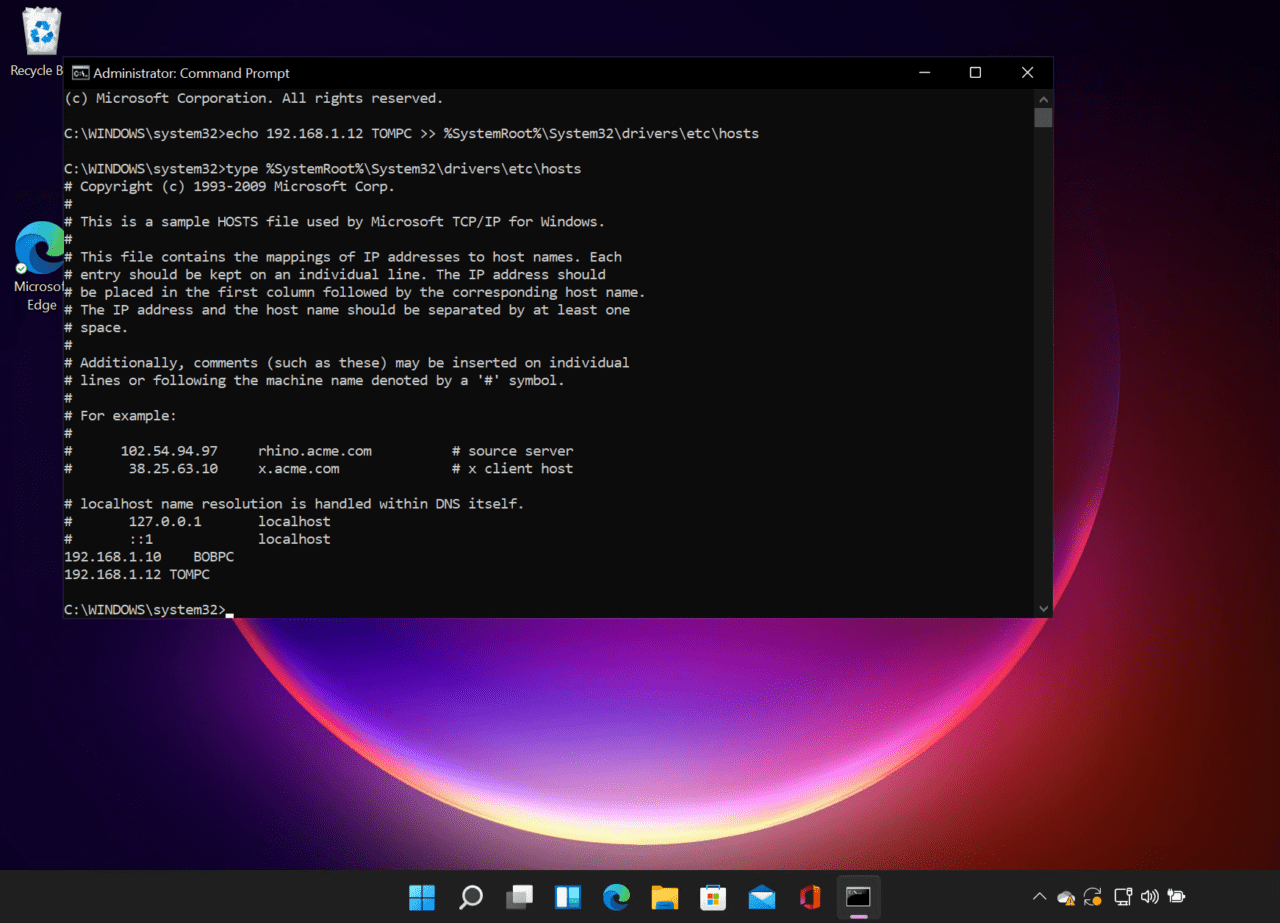
- To check that the hosts file was updated, use the ‘type’ command as shown below:
type %SystemRoot%System32driversetchosts
Remove an entry from the hosts file using the command line
The easiest way to remove an entry is to open Notepad from the command line. The command line must be started with administrator privileges as described above.
notepad %SystemRoot%System32driversetchosts
Notepad will open the hosts file. You can add or remove entries and then save the file to disk.